
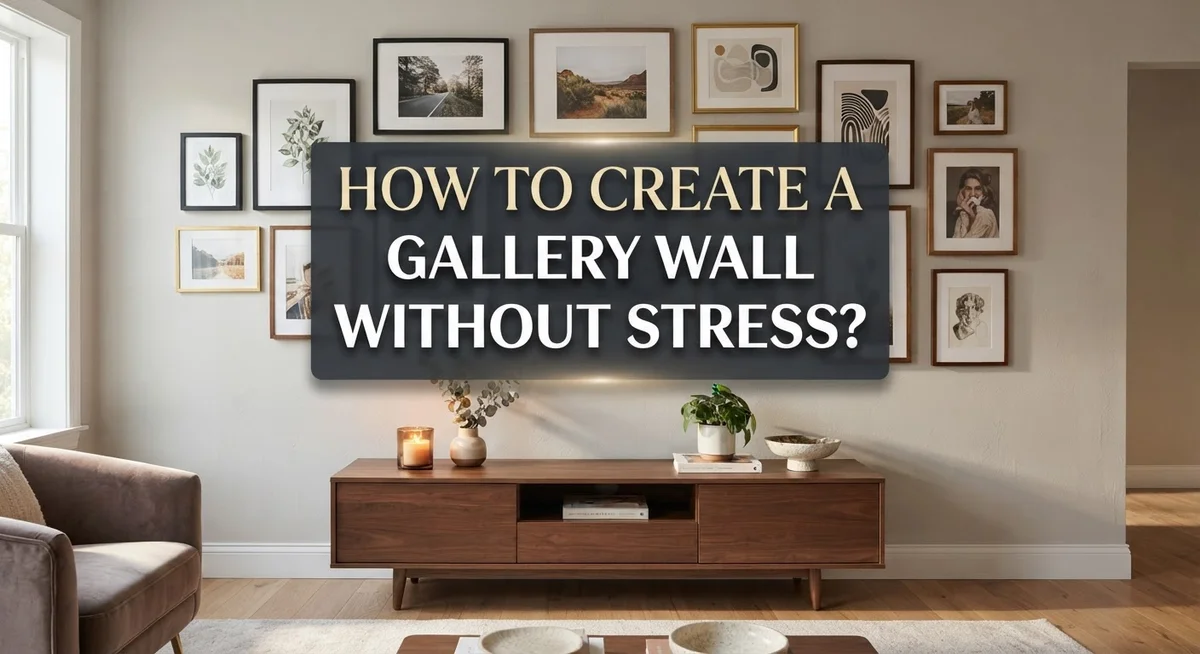
How to Create a Gallery Wall Without Stress?
Do you dream of a wall full of art but feel scared to start? You are not alone. A gallery wall can turn a plain space into something special.
But one wrong nail hole can feel like a big mistake. The good news? You do not need to be an expert to get this right.
Planning is the real secret here. When you plan first, you skip the stress and the extra holes in your wall.
This guide will show you the exact steps to build a gallery wall with confidence. We will cover how to lay out your frames on the floor first. You will learn how to measure your space the smart way.
We will also share the famous 57 inch rule for perfect eye level placement. Plus, you will discover how to space your prints so they look neat, not messy.
By the end, you will know how to pick your starting piece and build around it like a pro. Your dream wall is closer than you think. Let’s make it happen without the stress.
In a Nutshell
Creating a gallery wall does not need to feel stressful. A little planning goes a long way here. Check out these quick points before you grab a hammer.
-
Plan on the floor first. Lay out all your frames on the ground. This lets you test the design without making a single hole.
-
Start with your biggest piece. Place your largest frame first and build the rest of the wall around it. This gives your design a strong anchor point.
-
Measure your space. Always measure the wall area before you buy or hang any frames. This prevents awkward gaps or overcrowding.
-
Use the 57 inch rule. Hang the center of your art at 57 inches from the floor. This matches average eye level for most viewers.
-
Keep spacing consistent. Use a ruler to measure the distance between each frame. Even spacing makes the whole wall look clean and intentional.
-
Use the right hardware. Small nails and proper brackets protect your walls. They also keep your frames secure and level for years to come.
What Is a Gallery Wall and Why Planning Matters
A gallery wall is a collection of framed artwork, photographs, or prints hung together on one wall to create a unified display. Unlike hanging a single piece, a gallery wall tells a visual story through multiple images arranged in a specific pattern.
Why does planning matter so much? Without a clear plan, you risk making unnecessary holes in your walls. Each mistake costs time and leaves marks that need repair. Planning prevents these problems before they start.
When you plan first, you save money too. You know exactly what sizes and quantities you need before purchasing anything. This means no wasted frames or incorrect measurements.
Planning also helps you visualize the final result. You can experiment with different layouts on your floor without any commitment. You can move pieces around, test spacing, and adjust the design until it feels right.
The planning process reduces stress significantly. Most people feel anxious about gallery walls because they fear permanent damage. A solid plan removes this fear. You know where each nail goes before you pick up a hammer.
Planning gives you confidence. You understand your design vision before starting. You know which piece goes first, where spacing should be, and how the wall will look when finished.
Common mistakes happen when people skip planning. They hang pieces without measuring. They leave uneven gaps between frames. They don’t know their overall design purpose.
The good news is simple: spending 30 minutes planning on your floor saves hours of stress later. You avoid wall damage, wasted money, and frustration. Planning transforms gallery wall creation from something scary into something manageable and even enjoyable.
Essential Tools and Materials You’ll Need
Before you touch a single nail, gather the right supplies. This makes the entire process smooth and prevents damage to your walls.
Measuring tools are your foundation. You need a tape measure to check your wall space and distances between frames. A ruler or straightedge helps you mark precise spots. A level ensures your frames hang straight, not tilted. These three tools prevent crooked artwork and wasted effort.
Marking and hanging hardware matter most. Pencils work best for marking where nails go because you can erase mistakes. Use a stud finder if you want extra security for heavier pieces. Small nails (typically 1.5 to 2 inches) work well for most frames. Picture hanging hooks or brackets distribute weight evenly and protect drywall.
Protection supplies keep walls safe. Painter’s tape marks your layout on the wall without leaving permanent marks. Drywall anchors support frames on walls without studs. These prevent the large holes that make people regret gallery walls.
Organization supplies save time. Paper and a pencil let you sketch your layout first. Kraft paper or newspaper helps you create a full size template of your gallery wall. You can tape this template to the wall and see exactly how everything looks before hanging.
Additional helpful items include: a hammer for driving nails, a small drill for anchors, and painter’s tape for masking edges. A camera or phone lets you photograph your floor layout for reference while hanging.
Gathering these items takes 15 minutes but saves hours of frustration. You avoid making extra holes and second guessing your choices. Start with quality basics, and your gallery wall project becomes manageable and even enjoyable.
Step 1: Plan Your Layout on the Floor First
Laying out your gallery wall on the floor is the single best way to eliminate stress and mistakes. This step takes just 15 to 20 minutes but saves you hours of frustration later.
Start by gathering all your frames and artwork in one clear space. Your living room floor or a hallway works perfectly. Arrange each piece exactly as you want it to appear on your wall. Move things around freely. Adjust spacing. Swap positions. This is your chance to experiment without consequences.
Take photos of your floor layout from directly above. These images become your reference guide when you move to the wall. They show you exactly which pieces go where and how far apart they should be.
Pay attention to the overall shape your gallery creates. Does it form a rectangle? A square? An organic cluster? Understanding your design helps you position everything correctly on the wall.
Measure the distances between each frame while everything sits on the floor. Write these measurements down or use painter’s tape to mark the gaps. This information prevents guessing later.
Check that your largest and most important pieces anchor the composition. They should draw the eye first. Secondary pieces fill in around them naturally.
This floor planning step is not optional if you want a stress free experience. It shows you exactly what your wall will look like before you make a single hole. You can see problems and fix them instantly. You gain confidence knowing your design works.
The few minutes you spend on the floor translate into a perfect gallery wall installation.
Step 2: Measure Your Space and Map Out Placement
Now that your layout is planned, it’s time to measure your actual wall space. This step prevents costly mistakes and wasted materials.
Start by measuring the total wall area where your gallery will live. Use your tape measure to find the width and height of your available space. Write these numbers down so you don’t forget them.
Next, measure each individual frame you plan to hang. Record the width and height of every piece. This information helps you understand how much wall space your gallery actually needs.
Spacing between frames matters more than most people realize. A common guideline suggests spacing frames 2 to 3 inches apart, though you can adjust this based on your style preference. Measure this distance carefully to maintain consistency across your entire wall.
Start with your largest or favorite piece as your anchor point. Decide where this piece should hang on your wall. Measure from the floor, ceiling, and side walls to mark its position. This becomes your reference point for everything else.
Next, measure distances from your anchor piece to where your second largest frame should go. Place this piece diagonally from your first piece to create visual balance. Continue measuring and marking positions for each remaining frame.
Use painter’s tape to mark these positions lightly on your wall. Mark the exact spot where each nail should go. This approach lets you see your full layout before making any permanent holes.
Take a step back and look at your marked layout from different angles. Check that spacing looks even and balanced. Adjust tape markings if needed before you start hanging anything.
Step 3: Arrange Around Your Largest Piece
Your largest piece is the foundation of your entire gallery wall. This frame becomes your anchor point, and everything else builds around it.
Start by deciding where this largest piece will hang. Most people choose a central location or slightly off center. Once you pick this spot, mark it lightly with painter’s tape. This gives you a clear starting point before you drive any nails.
Now measure outward from this anchor piece. Look at your floor layout photos to see how far your second largest frame should sit from the first one. Use a ruler to measure the exact distance. Transfer this measurement to your wall using painter’s tape again.
The key principle is balance, not symmetry. Your pieces don’t need to be perfectly centered or evenly spaced. Instead, they should feel visually balanced around your largest frame. Some frames sit closer together. Others have more breathing room between them.
Place your second largest piece diagonally from your largest piece whenever possible. This creates visual movement and interest across your wall. Diagonal placement feels more dynamic than stacking pieces straight up and down.
Work outward in all directions from your anchor point. Fill in medium sized frames next, then smaller pieces last. This approach prevents you from creating awkward gaps or running out of wall space.
Take a step back frequently to see how your arrangement looks from across the room. What looks right up close might feel wrong from a distance. Adjust your tape marks if needed before hanging any frames permanently.
This methodical approach using your largest piece as your guide prevents costly mistakes and keeps the process stress free.
Step 4: Hang, Space, and Secure Each Frame Correctly
Now comes the moment you’ve prepared for. You have your layout marked on the wall with painter’s tape. Your frames are ready. It’s time to hang them with confidence.
Start by hanging your anchor piece first. This is your largest or favorite frame. Use a level to ensure it sits straight. Mark the nail holes based on your tape guides. Drive your nails at a slight upward angle. This prevents frames from sliding down over time.
Measure the distance between each frame carefully. Use a ruler or measuring tape. Check your floor plan photos to confirm spacing. Most people use 2 to 3 inches between frames. Some prefer 1 inch for a tighter look. The choice depends on your design vision.
Hang your second largest piece next. Remember, you placed this diagonally from your anchor piece during planning. Measure from your anchor frame to this new position. Use painter’s tape to mark the exact spot. Hang this frame with the same care and level checking.
Work outward systematically from your anchor point. Hang one frame at a time. Check spacing as you go. Step back frequently to see the overall look. This prevents surprises later.
Use appropriate hardware for your wall type. Drywall needs different anchors than plaster. Picture hanging hooks work well for most situations. Secure each frame firmly so it won’t shift.
Take your time with this step. Rushing causes crooked frames and extra holes. Each frame you hang correctly builds momentum. By the time you finish, your gallery wall will look exactly like your floor plan promised. Your careful preparation now pays off completely.
Common Mistakes That Cause Stress (and How to Avoid Them)
Skipping the planning stage is the biggest mistake people make. You’ll end up with unnecessary holes in your wall and frustration. Always lay out your gallery on the floor first to see how it actually looks before you pick up a hammer.
Not measuring your space causes real problems. Many people eyeball distances and assume frames will fit. Your wall might be smaller than you think, or your frames might be larger. Measure twice, hang once. This simple habit saves you from starting over.
Leaving too much space between frames makes your gallery feel disconnected. Frames that are too far apart look scattered and awkward. The 2 to 3 inch spacing rule works well for most situations. Use a ruler to mark these distances with painter’s tape before you hang anything.
Hanging pieces randomly without an anchor point creates chaos. Your gallery needs a foundation to build from. Start with your largest or favorite piece. This becomes your reference point for everything else. Place your second largest piece diagonally from the first one. This creates instant balance and guides the rest of your arrangement.
Using wrong hardware damages walls unnecessarily. Different wall types need different anchors. Drywall, plaster, and brick all require specific fasteners. Check your wall type first, then choose appropriate hardware. This prevents wall damage and keeps your frames secure.
Not stepping back to view your work leads to poor spacing decisions. What looks good up close might look wrong from across the room. Step back frequently during the hanging process. Look at your gallery from different angles and distances. This perspective helps you catch spacing issues before they become permanent problems.
Troubleshooting Uneven or Awkward Layouts
When your gallery wall looks uneven or awkward, the problem usually comes from spacing issues or a weak anchor point. The good news is you can fix this before you hammer any nails.
Start by stepping back about six feet from your wall. This distance lets you see the whole layout clearly. Look for gaps that feel too large or areas where frames bunch together. Uneven spacing breaks the visual flow your eye needs to move smoothly across the wall.
If your layout feels lopsided, check if your largest piece is truly centered as your anchor. Your biggest frame should feel like the natural starting point. Everything else should relate back to this piece. If it’s off to one side, your entire arrangement will feel imbalanced.
Measure the actual distance between each frame using a ruler. Most galleries work best with 2 to 3 inches between pieces. If you find some gaps are 4 inches while others are 1 inch, that’s your problem. Consistent spacing creates harmony, even in asymmetrical designs.
Another common issue is placing similar sized frames next to each other. This creates visual weight on one side. Instead, alternate your frame sizes. Put a large piece, then a medium one, then a small one. This rhythm feels more natural to viewers.
Use painter’s tape to mark new positions before making additional holes. Adjust your layout on the floor first if needed. Take photos from different angles to spot awkward areas. Sometimes stepping away for a few hours helps you see problems fresh eyes would catch immediately.
Final Thoughts
Creating a gallery wall does not need to feel overwhelming. When you break the process into small steps, everything becomes manageable.
Start with a plan. Lay your frames on the floor first. This lets you see the arrangement before you touch your wall.
Measuring matters more than most people think. Take time to measure your space and your frames. This small step saves you from extra holes and wasted effort.
Remember the 57 inch rule. This guideline helps you hang art at a comfortable eye level. Your gallery wall will feel balanced and natural to view.
Your largest piece should always come first. Let it guide the rest of your layout. Every other frame builds around this anchor.
Mistakes happen to everyone. Even experienced decorators adjust their layouts along the way. The key is to stay patient and flexible.
If something looks off, step back and observe. Sometimes a small shift in spacing fixes the whole look. Trust your eyes as much as your measurements.
Gallery walls reflect your personal style. There is no universal rule that fits every home or every person. Your space should feel like you, not a copied template.
Take breaks if you feel stressed. Walking away for a few minutes often brings clarity. You will return with fresh eyes and better ideas.
Finally, enjoy the process. A gallery wall tells a story through images and memories. Let your creativity guide the final result.
With careful planning and simple steps, your gallery wall will come together smoothly. Stress fades when you trust the process and take your time.
Frequently Asked Questions
What is the best way to start a gallery wall project?
Begin by laying out your entire gallery wall on the floor first. This step helps you see the full design before making any holes in your walls. Measure your wall space and decide how much room you want to fill. Identify your largest or favorite piece and make it your anchor point. This piece becomes the foundation for everything else.
How far apart should frames be from each other?
Use the 57 inch rule as your guide. This means measuring from the floor to the center of your frames should be around 57 inches for comfortable viewing. Between individual frames, measure the distance with a ruler and keep it consistent. Most people space frames 2 to 3 inches apart, but your preference matters most.
Can I move frames after I hang them?
Yes, you can move frames, but it creates extra holes. This is why planning on the floor first saves your walls. Use painter’s tape to mark new positions before drilling additional holes. If you need to adjust spacing, measure carefully and mark the exact spots with tape before removing any frames.
What hardware should I use for my walls?
Different walls need different anchors. Drywall requires special anchors designed for hollow walls. Plaster walls need different fasteners. Always use small nails or appropriate brackets for your wall type. Choosing the right hardware prevents damage and keeps your gallery wall secure.
Why does my gallery wall look disconnected?
Large gaps between frames create this feeling. Step back about six feet and observe your layout. Check if your anchor piece is truly centered. Measure the actual distances between frames and adjust as needed. Consistent spacing brings your gallery together visually.

Phil is the founder and creative mind behind Aesthetic Space Finds, a home decor enthusiast dedicated to helping people transform their living spaces through honest product reviews, in-depth comparisons, and expert buying guides. With a keen eye for design and a passion for discovering hidden gems in the world of home accessories, Phil curates content that makes stylish, functional living accessible to everyone.


