
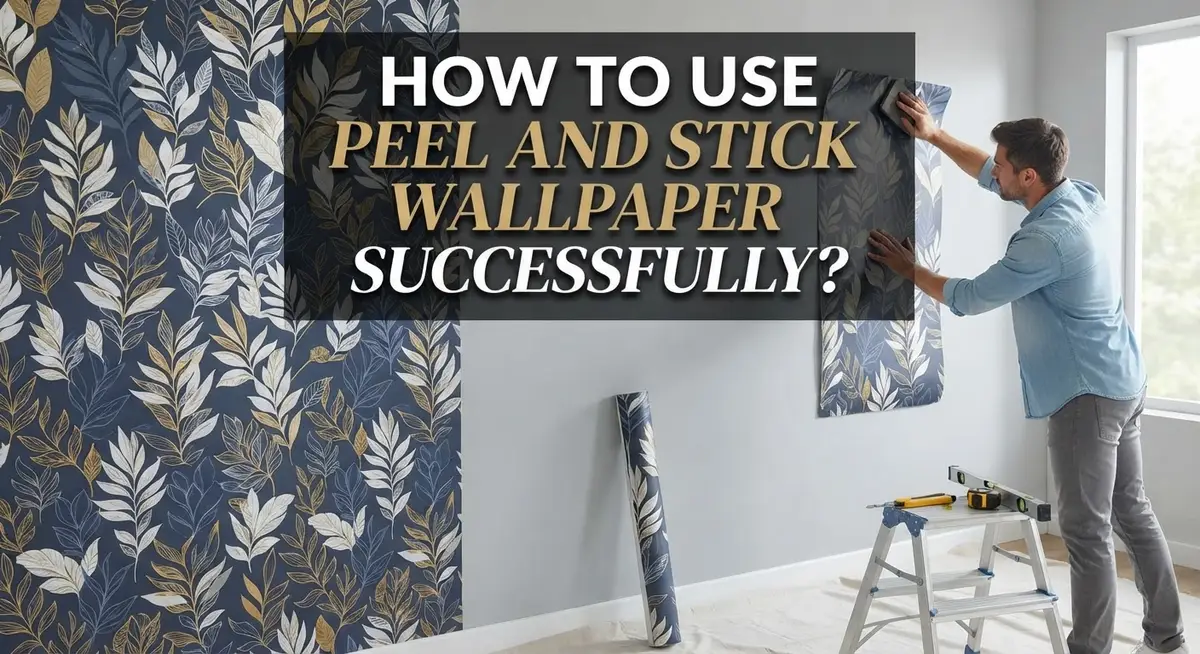
How to Use Peel and Stick Wallpaper Successfully?
Peel and stick wallpaper sounds simple. Just peel, then stick, right?
But many people end up with bubbles, crooked lines, or mismatched patterns. The result feels messy instead of beautiful.
The good news is that success comes down to a few key steps. Wall preparation matters more than most people think. A clean, smooth surface helps the adhesive grip properly.
Alignment is another game changer. Corners often look straight, but they rarely are. A plumb line gives you a true guide, so your first strip sets the tone for the whole wall.
Smoothing technique also plays a big role. Working slowly from top to bottom helps you avoid trapped air and annoying bubbles.
This guide walks you through the entire process. You will learn how to prep walls, mark guides, and apply strips with confidence.
We also cover pattern matching, trimming tips, and common mistakes to avoid. By the end, you will know how to remove the wallpaper cleanly too.
Ready to transform your space without the guesswork? Let’s get started.
In a Nutshell
Here’s the quick rundown for getting peel and stick wallpaper right the first time:
-
Clean your walls first. Use isopropyl alcohol or a water and rag combo. This removes dust and dirt so the adhesive sticks properly.
-
Mark a plumb line before you start. Corners are rarely straight, so don’t trust them. A level guide keeps your first strip perfectly straight.
-
Peel back 12 to 24 inches at a time. Align this section with your plumb line, then smooth it down. Work downward slowly for the best results.
-
Match patterns between strips. Check the alignment before you commit to full adhesion. This small step saves you from redoing entire strips later.
-
Smooth continuously as you apply. This simple habit prevents annoying bubbles from forming underneath the paper.
-
Trim excess carefully. Wait until the strip is fully placed, then use a sharp utility knife at the ceiling and baseboard.
Follow these steps in order, and you’ll avoid the most common mistakes people make with this project.
What Is Peel and Stick Wallpaper?
Peel and stick wallpaper is a removable wall covering with adhesive already applied to the back. Unlike traditional wallpaper, you don’t need paste, a brush, or professional installation skills. The adhesive stays on the backing paper until you’re ready to apply it to your wall.
The main advantage is flexibility. You can remove it without damaging your walls, making it perfect for renters or anyone who likes to change their décor frequently. The adhesive is strong enough to stay in place for years, yet gentle enough to peel away cleanly when you decide to switch things up.
This type of wallpaper comes in rolls with a paper or plastic backing. The backing protects the adhesive until installation time. When you’re ready to apply it, you simply peel back the backing and press the sticky side onto your wall.
Quality varies significantly between brands and price points. Budget options may have weaker adhesive or lower quality prints. Premium versions offer better color accuracy, durability, and stronger sticking power.
Peel and stick wallpaper works best on smooth, clean surfaces. Textured walls, old paint, or dirty surfaces can cause adhesion problems. The wallpaper adheres to drywall, painted surfaces, and some other materials, but performance depends on proper wall preparation.
The thickness of peel and stick wallpaper ranges from thin vinyl to thicker fabric blends. Thicker options hide wall imperfections better and feel more substantial. Thinner versions are easier to handle during installation but may show bumps underneath.
Understanding what you’re working with sets you up for success. Proper installation techniques matter far more than the product type itself.
Essential Tools and Materials You’ll Need
Before you start applying peel and stick wallpaper, gather the right tools. Having everything ready prevents frustration and mistakes during installation.
A level or plumb line is your most important tool. Corners in homes are rarely straight, so you need this to mark a vertical guide on your wall. This ensures your first strip goes on perfectly aligned. Without it, everything that follows will be crooked.
A smoothing tool helps you press the wallpaper flat against the wall. You can use a plastic squeegee, a soft cloth, or even a credit card. The goal is removing air bubbles as you work. Smooth from the center outward in an S pattern for best results.
Cleaning supplies matter more than people realize. Use isopropyl alcohol or a simple water and rag combination. Your walls must be completely clean and dry before application. Dust, dirt, or residue prevents proper adhesion.
A sharp utility knife is essential for trimming excess wallpaper at the ceiling and baseboards. Dull blades tear the paper instead of cutting cleanly. Replace blades frequently during your project.
Measuring tools like a tape measure and pencil help you mark your plumb line accurately. You’ll also need them to check pattern alignment between strips before full application.
Optional but helpful items include a spray bottle for moisture, a ladder or step stool for reaching high areas, and painter’s tape for marking guidelines. Some people also use a seam roller for pressing down seams between strips, though your smoothing tool usually works fine.
Start with quality tools. Better equipment makes the entire process smoother and gives you professional results.
Preparing Your Walls for Application
Your walls need proper preparation before any wallpaper goes on. This step determines whether your final result looks professional or disappointing.
Start by cleaning your wall surface thoroughly. Use isopropyl alcohol on a clean cloth and wipe down the entire area where you plan to apply wallpaper. This removes dust, dirt, and oils that prevent adhesive from sticking properly. If you prefer a gentler approach, use warm water with a soft rag instead.
Allow the wall to dry completely before moving forward. Moisture left behind creates bubbles and weak adhesion points. Give yourself at least 30 minutes of drying time in normal conditions.
Next, inspect your wall for damage or imperfections. Fill any holes or cracks with spackle or wall filler. Sand these areas smooth once dry so the wallpaper surface stays even. Bumpy walls cause the wallpaper to sit unevenly and show every imperfection underneath.
Check whether your wall is truly flat and vertical. Use a level or straightedge to identify any bowing or tilting. Peel and stick wallpaper follows the wall contours exactly, so significant issues become very visible.
Mark your plumb line before applying anything. This vertical guide is absolutely critical. Use a level to mark a light pencil line from ceiling to floor. This line becomes your alignment reference, not the room’s corners.
Finally, remove any outlet covers, switch plates, or wall fixtures in your work area. This gives you a clean surface and prevents wallpaper from bunching around obstacles.
Taking time with preparation prevents frustration later. You’ll spend an extra 30 minutes now but save hours of rework or removal.
Step-by-Step Installation Guide
Start by peeling back 12 to 24 inches of the backing paper from the top of your first strip. This gives you enough material to work with without exposing too much adhesive at once.
Align your wallpaper strip with the plumb line you marked earlier. Don’t trust the corner as your guide. The corner may not be perfectly straight, so your marked vertical line keeps everything aligned properly.
Begin applying the wallpaper at the top section. Use your smoothing tool to press the material flat against the wall as you work downward. Work slowly and deliberately. This prevents air bubbles from forming underneath.
Peel back more backing paper as you go. Continue smoothing the wallpaper downward in sections. The key is working gradually rather than rushing the entire strip at once.
Before you fully adhere the next strip, check the pattern matching. Line up the edges and verify that any design elements align correctly between strips. Make adjustments now if needed. Once the adhesive sets, repositioning becomes difficult.
After both strips are smoothly applied, press firmly along the seam where they meet. This ensures good adhesion in that critical area.
When you reach the ceiling, use your utility knife to trim excess wallpaper. Hold the knife at a slight angle and cut carefully along the edge. Repeat this process at the baseboard.
Continue this method strip by strip across your wall. Keep checking your plumb line occasionally. Walls can shift slightly, so verify alignment every few strips.
Remember to smooth continuously as you apply each section. Consistent pressure prevents wrinkles and bubbles from becoming permanent problems in your finished wall.
Pro Tips for a Flawless Finish
Getting a flawless finish with peel and stick wallpaper comes down to technique and attention to detail. Here’s what separates professional results from amateur mistakes.
Smooth as you go, not after. Many people apply an entire strip and then try to smooth out bubbles. This approach traps air underneath. Instead, smooth continuously from top to bottom in small sections. Use firm, downward pressure with your smoothing tool. Work out any bubbles immediately before the adhesive sets.
Match patterns before full commitment. Peel back the next strip’s backing slightly and hold it against the previous strip. Line up the pattern exactly before pressing down. This prevents misaligned seams that ruin the overall appearance.
Trim with precision, not haste. Wait until each strip is fully smoothed and adhered before trimming. Use a sharp utility knife and a straightedge. Make one clean cut rather than multiple passes. Dull blades tear the wallpaper and create rough edges.
Handle seams with care. After both strips are applied, run your smoothing tool firmly along the seam line. Press down with extra pressure to ensure the edges bond completely. A weak seam will eventually lift or separate.
Watch for common slip ups. Don’t apply too much pressure too quickly or you’ll stretch the material. Don’t skip any bubbles thinking they’ll disappear on their own. Don’t rush through pattern matching to save time.
Temperature matters more than people realize. Work in a room between 60 and 75 degrees Fahrenheit. Cold rooms make adhesive sluggish. Hot rooms make the material difficult to reposition if needed.
Common Mistakes to Avoid
Skipping wall preparation is the biggest mistake people make. Dirty walls, dust, and debris prevent the adhesive from sticking properly. Your wallpaper will peel away within weeks if the surface isn’t clean. Use isopropyl alcohol or a damp rag to wipe everything down. Let the wall dry completely before you start.
Neglecting the plumb line is equally damaging. Many people align their first strip with the corner, assuming it’s straight. Corners are rarely plumb. Your pattern will shift and look crooked by the third or fourth strip. Mark a vertical guide with a level before applying anything.
Not checking pattern matching before full adhesion causes major frustration. Peel back the second strip slightly and hold it against the first one. Make sure the design lines up perfectly. Once you press it down, repositioning becomes difficult. Spend 30 seconds verifying the match.
Improper smoothing creates bubbles and wrinkles that trap air underneath. Apply pressure as you work downward, not after the entire strip is down. Smooth continuously from top to bottom. Use a squeegee or smoothing tool with firm, even strokes.
Rushing the trimming step ruins clean edges. Wait until each strip is fully adhered and smooth before cutting excess at the ceiling and baseboard. Use a sharp utility knife and a straight edge. One slow, controlled cut beats multiple sawing motions.
Finally, don’t apply too much pressure too quickly. The material can stretch under excessive force, creating distortion. Work methodically and let the adhesive do its job. Patience prevents most installation problems.
Troubleshooting Bubbles, Gaps, and Misalignment
Bubbles, gaps, and misalignment are the most common issues you’ll face during installation. Understanding how to fix them saves time and frustration.
Bubbles form when air gets trapped under the wallpaper. This happens because you didn’t smooth continuously as you applied each section. If you see small bubbles after application, use a smoothing tool or squeegee to push air toward the nearest edge. Work from the center outward in gentle strokes. For stubborn bubbles, try lifting the wallpaper slightly and reapplying it while smoothing firmly.
Gaps between strips usually mean misalignment occurred. This happens when you didn’t follow your plumb line carefully or when the wall surface is uneven. Prevent gaps by checking your level marks frequently as you work. If gaps appear, they’re difficult to fix after the adhesive sets. The best solution is removing that strip and reapplying it with proper alignment.
Misalignment typically results from trusting your wall’s corner instead of your marked plumb line. Corners are rarely perfectly straight. Always use your level to mark a vertical guide before starting. If your first strip goes crooked, remove it immediately and reapply while the adhesive is still fresh. Peel and stick wallpaper stays removable for several minutes after application.
Pattern matching prevents visible seams. Before fully adhering your next strip, hold it against the previous one to check the pattern alignment. Offset it slightly if needed to create a seamless look. Once patterns match perfectly, press it down firmly.
Small imperfections fade when you step back. Most issues look worse up close than from normal viewing distance. Focus on getting seams tight and patterns matched rather than achieving absolute perfection.
How to Remove Peel and Stick Wallpaper Cleanly
Removing peel and stick wallpaper cleanly requires patience and the right approach. Most peel and stick wallpaper removes easily without damaging your walls, but technique matters.
Start by finding a corner or edge of the wallpaper. Gently lift the corner with your fingernail or a plastic scraper. Pull slowly at a low angle, almost parallel to the wall. Rushing this step causes the wallpaper to tear into small pieces instead of peeling away in large sections.
If the wallpaper resists, use a garden sprayer to dampen it. Spray water directly onto the surface and let it soak for several minutes. The moisture helps weaken the adhesive. Apply multiple coatings if needed, waiting between applications.
Once the wallpaper begins lifting, continue pulling slowly. If it sticks again, spray more water and wait. Patience prevents wall damage. The goal is steady, consistent removal rather than aggressive yanking.
For stubborn spots, use a plastic scraper to help lift edges without gouging the wall. Work at a shallow angle. Never use metal scrapers or knives on drywall, as they create gouges.
After removing all wallpaper, clean any remaining adhesive residue. Dampen a cloth with water or isopropyl alcohol and wipe the wall. Let the wall dry completely before inspecting for damage.
Check your wall for gouges, dents, or marks. Minor imperfections need sanding and patching compound. Larger damage requires professional wall repair before applying new wallpaper.
Most peel and stick wallpaper leaves no permanent marks when removed correctly. The key is working slowly, using moisture to help the process, and applying steady pressure rather than force.
Final Thoughts
Peel and stick wallpaper gives you a fast way to update any room. You don’t need special skills or expensive tools to get a professional looking finish.
Success comes down to three things. Prep your walls well. Mark a plumb line. And smooth as you go.
Skip any of these steps and you’ll likely face bubbles or crooked strips. Take your time with each one and the process becomes simple.
Remember that corners lie to you. Walls are rarely as straight as they look. Your plumb line is the only guide you can truly trust.
Pattern matching also deserves your full attention. Always check alignment before you commit to full adhesion. This small pause saves you from peeling strips back later.
Work in small sections and smooth outward from the center. This simple habit prevents most air bubbles before they start.
If mistakes happen, don’t panic. Peel and stick wallpaper is forgiving. You can lift and reposition strips within the first few minutes of application.
Even after full adhesion, removal stays easy. This makes the material perfect for renters and anyone who likes to change their space often.
Think of this project as low risk, high reward. You get real design impact without permanent commitment.
With practice, each strip goes faster than the last. Many people finish an entire wall in one afternoon once they find their rhythm.
Trust the process. Follow your plumb line. Smooth often. Check patterns before sticking fully.
Do these things and your walls will look clean, professional, and exactly how you pictured them from the start.
Frequently Asked Questions
Can I apply peel and stick wallpaper over existing wallpaper?
No, you should not. Old wallpaper creates an uneven surface that prevents proper adhesion. Remove the existing wallpaper first, then prep your walls with clean surfaces. A smooth wall is essential for success.
What if my walls are textured or rough?
Textured walls make alignment harder and cause adhesive contact issues. You have two options. First, you can apply a primer or sizing compound to smooth the texture slightly. Second, you can accept that some texture will show through and plan your pattern accordingly. Test a small section first before committing to the entire room.
How long does peel and stick wallpaper last?
Most peel and stick wallpaper lasts between 2 to 5 years depending on humidity, temperature, and wall conditions. High moisture areas like bathrooms may reduce longevity. The adhesive weakens over time, especially in warm or humid environments. Plan for eventual replacement rather than permanent installation.
Can I reposition a strip after I’ve started applying it?
Yes, but only in the first few minutes. If you notice misalignment early, gently peel back the section and reposition it along your plumb line. Once the adhesive sets completely, repositioning becomes difficult. Work quickly and carefully to avoid wasting material.
What causes wallpaper to peel at the edges?
Poor wall preparation or humidity causes edge peeling. If your walls weren’t clean, dust prevents adhesion. High moisture in bathrooms or kitchens weakens the bond over time. Ensure thorough cleaning before installation and monitor humidity levels in problem areas.

Phil is the founder and creative mind behind Aesthetic Space Finds, a home decor enthusiast dedicated to helping people transform their living spaces through honest product reviews, in-depth comparisons, and expert buying guides. With a keen eye for design and a passion for discovering hidden gems in the world of home accessories, Phil curates content that makes stylish, functional living accessible to everyone.


